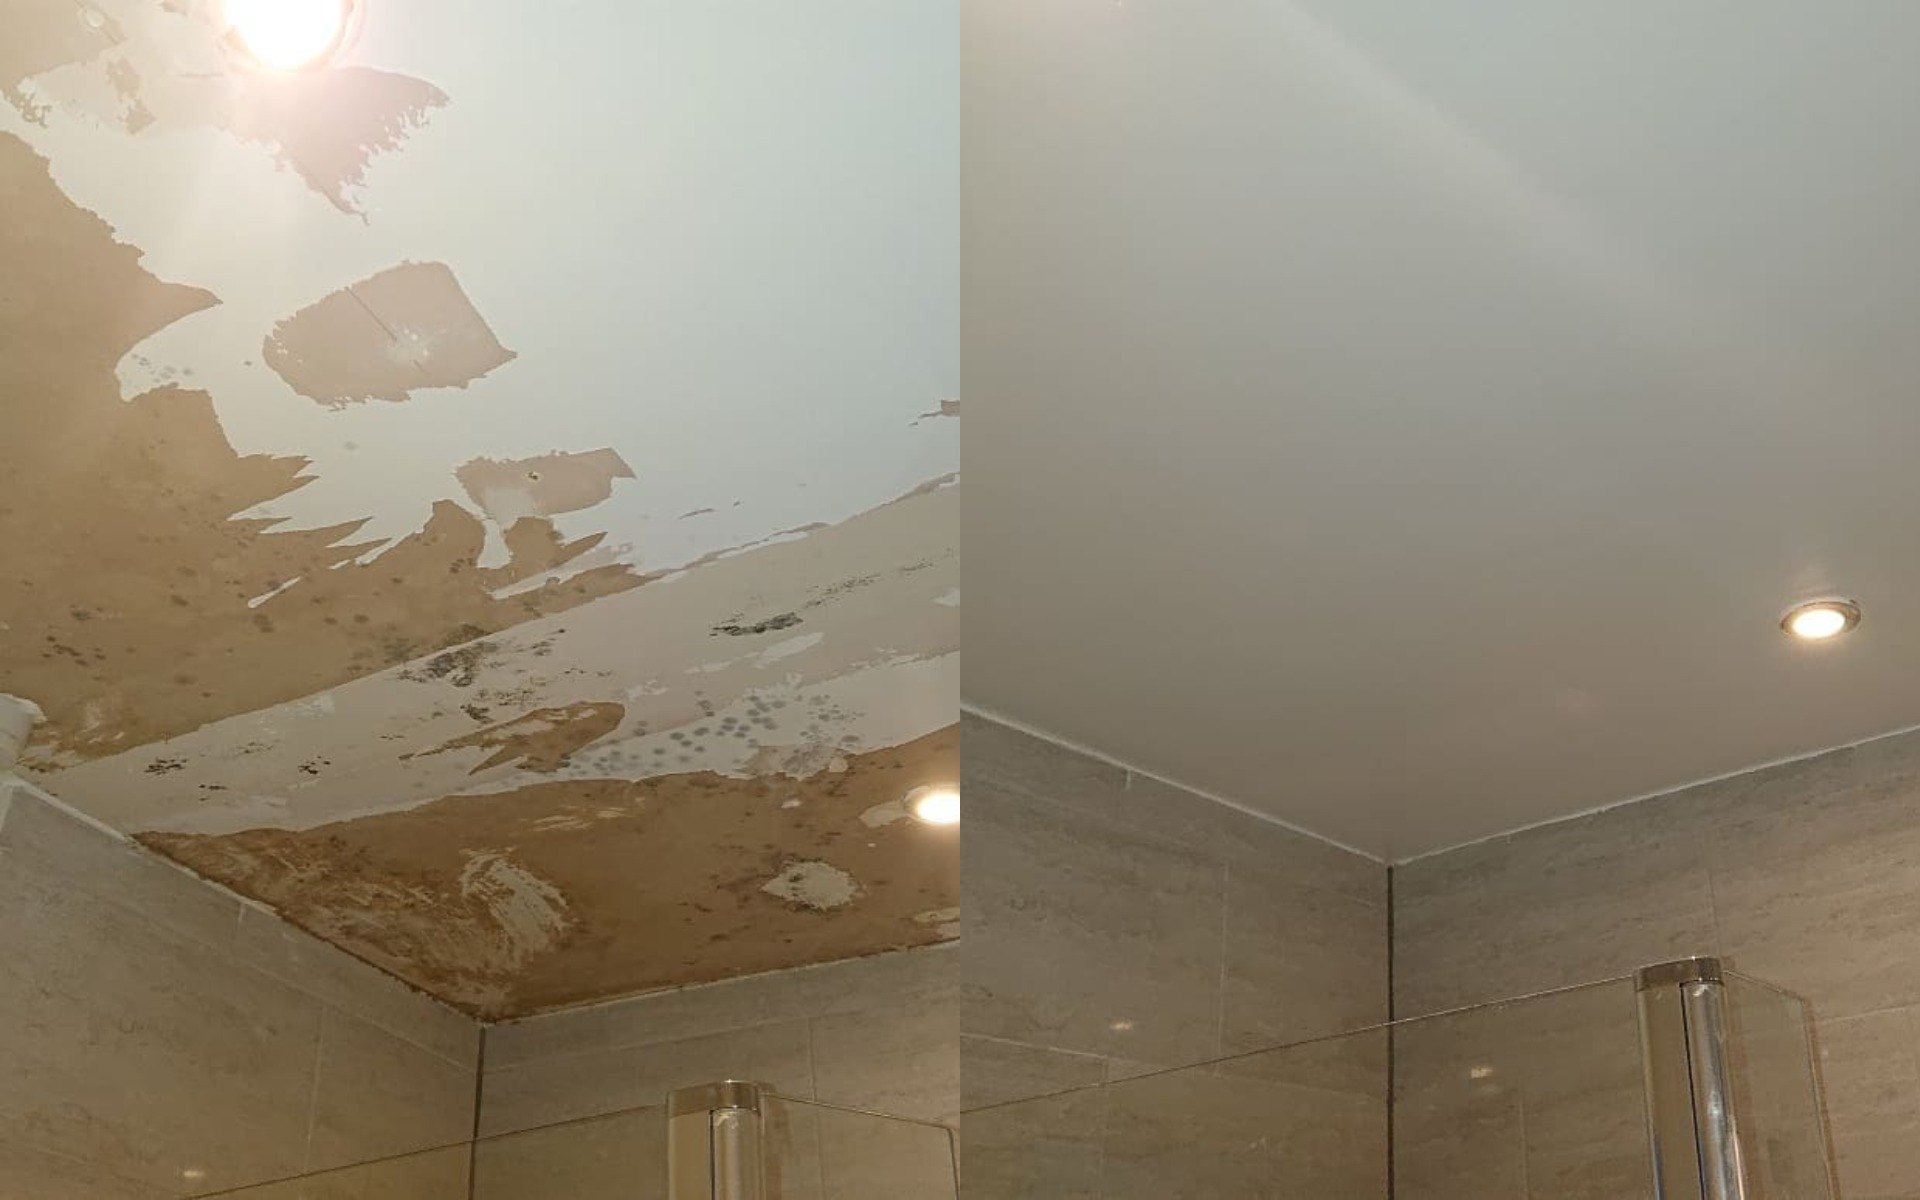
Causes of Peeling Paint in Bathroom Showers

The sight of peeling paint in a bathroom shower is a common homeowner’s headache. It can detract from the aesthetics of your bathroom and even indicate underlying problems. Understanding the causes of this issue is essential for preventing it and ensuring a long-lasting, beautiful shower space.
Moisture and Humidity
Bathrooms are naturally humid environments due to the presence of hot water and steam. This constant exposure to moisture creates the perfect breeding ground for mold and mildew, which can damage paint and cause it to peel.
Poor Ventilation
Adequate ventilation is crucial for mitigating moisture buildup in bathrooms. If your bathroom lacks proper ventilation, the air becomes saturated with moisture, leading to condensation and peeling paint. Exhaust fans are essential for removing excess moisture and preventing condensation.
Improper Application
The way paint is applied can significantly affect its durability. Insufficient preparation, such as failing to clean the surface properly or applying paint over existing peeling paint, can lead to premature peeling.
Type of Paint
The type of paint used in a bathroom shower plays a crucial role in its longevity. Some paints are formulated specifically for high-moisture environments, while others are not. Oil-based paints, for example, are generally more resistant to moisture than latex paints.
Harsh Cleaning Products
Using harsh cleaning products on painted surfaces can also contribute to peeling. Abrasive cleaners and strong chemicals can damage the paint’s protective layer, making it more susceptible to moisture and peeling.
Preventing Peeling Paint in Bathroom Showers

Peeling paint in a bathroom shower is a common problem, but it can be prevented with proper preparation and the right materials. By following these steps, you can ensure a long-lasting and beautiful finish in your bathroom shower.
Preparing the Shower Surface
Before painting, it is essential to properly prepare the shower surface. This involves thoroughly cleaning, sanding, and priming the area. A well-prepared surface provides a solid foundation for the paint to adhere to, preventing peeling and ensuring a smooth, even finish.
- Clean the surface: Start by removing any loose paint, dirt, grime, and soap scum. Use a mild detergent and a scrub brush to clean the shower walls and ceiling. Rinse thoroughly with water and allow the surface to dry completely.
- Sand the surface: Once dry, sand the surface with fine-grit sandpaper (120-grit) to remove any remaining imperfections and create a smooth, even surface for the primer to adhere to. This helps create a uniform surface for the paint, improving adhesion and reducing the risk of peeling.
- Prime the surface: After sanding, apply a primer specifically designed for high-moisture areas like bathroom showers. A primer acts as a bonding agent between the surface and the paint, improving adhesion and creating a barrier against moisture. This helps prevent the paint from peeling due to moisture buildup.
Choosing the Right Paint and Primer
The type of paint and primer you choose is crucial for preventing peeling in a bathroom shower. Look for products specifically formulated for high-moisture areas, as they are designed to withstand the constant exposure to water and humidity.
- Moisture-resistant paint: Choose a paint that is labeled as “moisture-resistant” or “bathroom-grade.” These paints contain special additives that make them more durable and less susceptible to moisture damage. They are designed to withstand the constant exposure to water and humidity, preventing peeling and ensuring a long-lasting finish.
- Epoxy paint: Epoxy paint is a durable and moisture-resistant option that is often used in bathroom showers. It forms a hard, non-porous coating that is resistant to water, mildew, and stains. Epoxy paint is known for its long-lasting durability, making it a good choice for areas prone to moisture damage.
- Acrylic latex paint: Acrylic latex paint is another good option for bathroom showers. It is water-based, dries quickly, and is relatively easy to apply. Acrylic latex paint is also mildew-resistant and offers good moisture resistance, making it a suitable choice for high-moisture areas. However, it is important to choose a high-quality acrylic latex paint specifically designed for bathroom use.
- Primer: Use a primer specifically designed for high-moisture areas, such as an epoxy primer or an acrylic latex primer. These primers provide a moisture barrier and improve paint adhesion, preventing peeling and ensuring a long-lasting finish.
Designing a Ventilation System
Proper ventilation is essential for preventing moisture buildup and paint peeling in a bathroom shower. A well-designed ventilation system helps remove excess moisture from the air, reducing the risk of condensation and mold growth.
- Exhaust fan: Install an exhaust fan in your bathroom to remove moisture from the air. The fan should be powerful enough to effectively remove moisture from the shower area. It should be vented to the outside of the house, not into the attic or other enclosed spaces. Run the fan for at least 30 minutes after each shower to remove moisture from the air.
- Window: If possible, open a window in the bathroom during and after showering to allow fresh air to circulate. This helps remove moisture from the air and prevent condensation. If you have a window in your bathroom, open it slightly during and after showering to help with ventilation.
- Proper sealing: Ensure that all gaps and cracks around the shower are properly sealed to prevent moisture from seeping into the walls. Use a high-quality sealant that is designed for bathroom use. This helps prevent moisture from getting behind the paint and causing peeling.
Remedying Peeling Paint in Bathroom Showers

Once you’ve identified the cause of peeling paint in your bathroom shower, it’s time to tackle the problem head-on. Removing the old, damaged paint and applying a fresh coat is the most effective way to restore the shower’s appearance and protect it from future damage.
Removing Peeling Paint, Peeling paint in bathroom shower
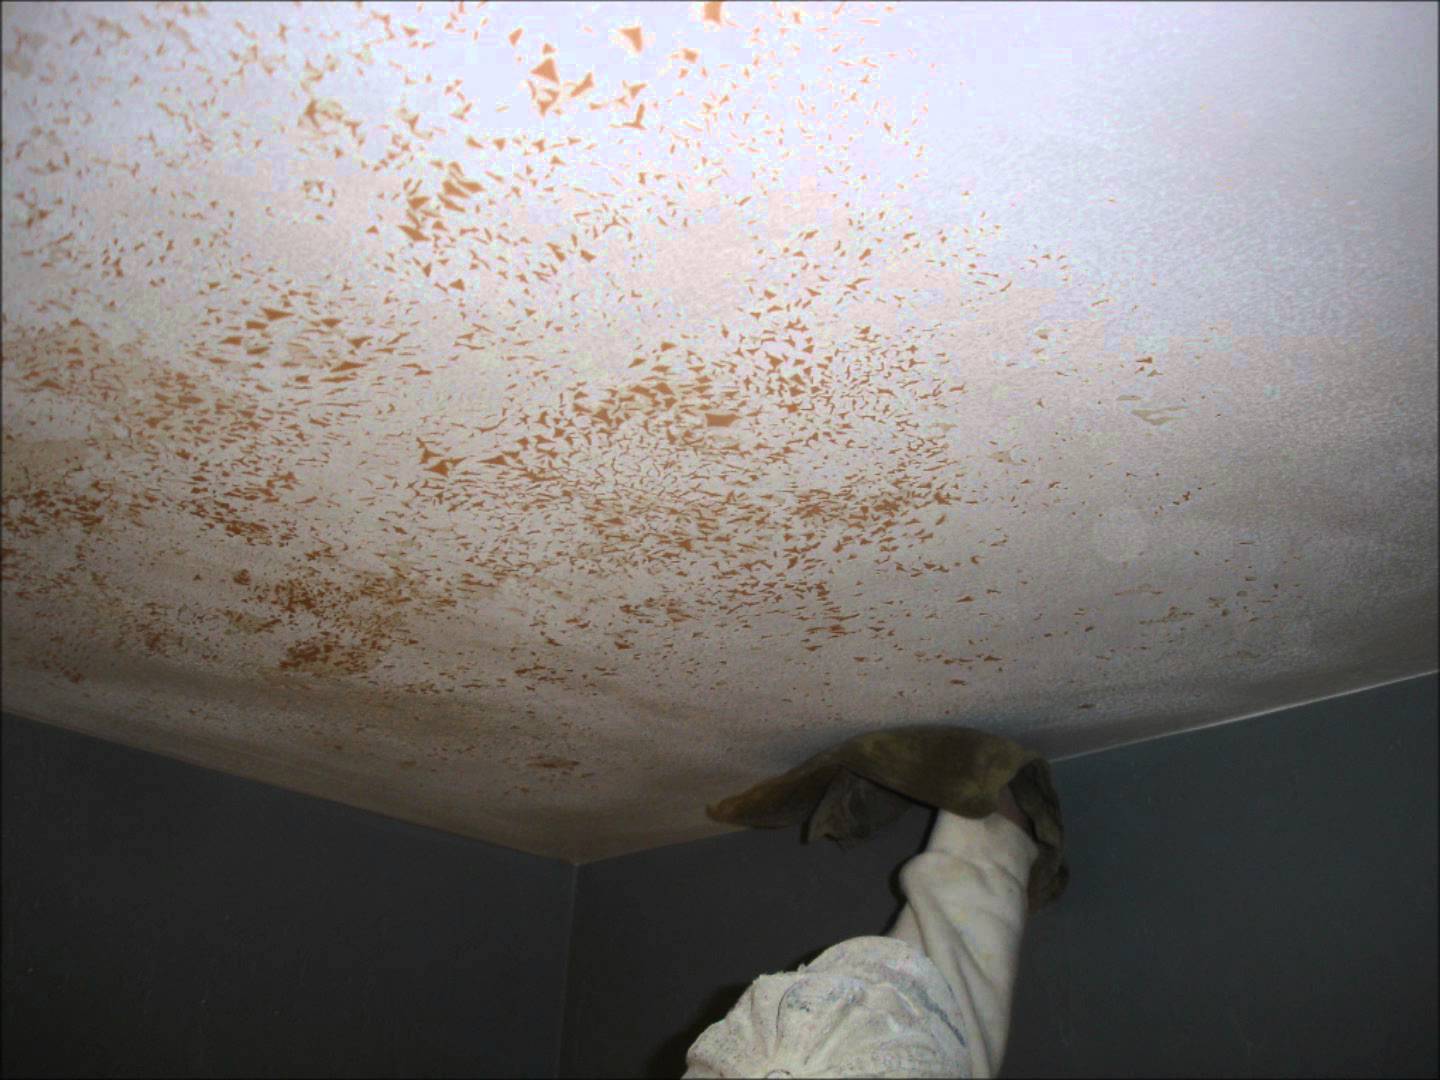
Removing peeling paint is the first step in remedying the problem. This involves scraping off the loose paint, sanding down the surface, and cleaning it thoroughly.
- Scraping: Use a scraper with a sharp blade to remove the loose paint. Start at the edges of the peeling paint and work your way towards the center. Be careful not to damage the underlying surface.
- Sanding: Once the loose paint is removed, sand the surface to smooth it out. Use a fine-grit sandpaper to avoid scratching the surface.
- Cleaning: After sanding, clean the surface thoroughly with a damp cloth and mild detergent. Rinse the surface well and allow it to dry completely before applying new paint.
Tools and Materials
To effectively remove peeling paint from a bathroom shower, you’ll need the following tools and materials:
- Paint scraper: A scraper with a sharp blade is essential for removing loose paint.
- Sandpaper: Use fine-grit sandpaper to smooth out the surface after scraping.
- Dust mask: Wear a dust mask to protect yourself from inhaling paint dust.
- Safety goggles: Protect your eyes from paint chips and dust.
- Gloves: Wear gloves to protect your hands from paint and cleaning solutions.
- Cleaning cloths: Use cleaning cloths to wipe down the surface after sanding.
- Mild detergent: Use a mild detergent to clean the surface after sanding.
Applying New Paint
After preparing the surface, you’re ready to apply a new coat of paint. Choose a paint specifically designed for bathrooms, as it will be more resistant to moisture and mildew.
- Prime the Surface: Before applying paint, prime the surface with a bonding primer. This will help the paint adhere better and prevent it from peeling in the future.
- Apply Paint in Thin Coats: Apply the paint in thin, even coats, allowing each coat to dry completely before applying the next. Two coats are usually sufficient for good coverage.
- Let the Paint Cure: Allow the paint to cure completely before using the shower. This will ensure that the paint is fully hardened and resistant to moisture.
